Worksheet Crafter User Manual
|
The image solution item may be used for a great variety of different exercises in many teaching subjects.
After dragging the item on the worksheet you may set any image as correct solution. This image will be visible on the answer keys and solve the interactive worksheet when dragged from the solution bar on the correct solution area. In addition you may assign as many incorrect solutions to the items as you want. Those will also be available in the solution bar for interactive worksheets. The item functions similar to the solution item for texts. It provides many means in creating your worksheets. Due to this freedom there are some points to take into consideration when creating worksheets with solution items. In the following we provide some useful hints. |
|
The image solution item is available in the Premium Edition and Unlimited Edition 2022.3 or newer. Learn more. |
Ceating a new Image Solution Item
|
Use the toolbar icon pictured on the left to place a new image solution item on the worksheet. For more information about this topic see the chapter "Creating Items".
|
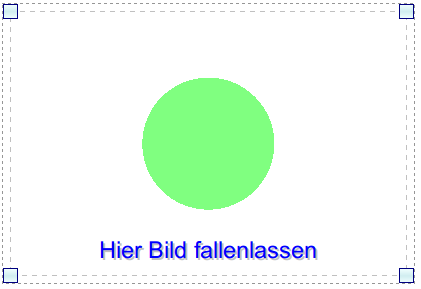
At first the item has no images assigned. You may assign images via drag & drop.
Assigning a Solution Image
Drag any image from the content browser on to the item. A green overlay will be visible in the respective image solution item.
By the way: you may also use images from your operation system's file browser.
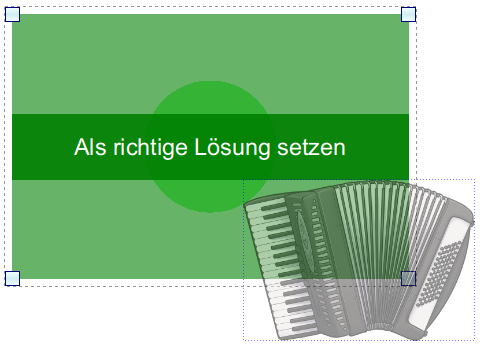
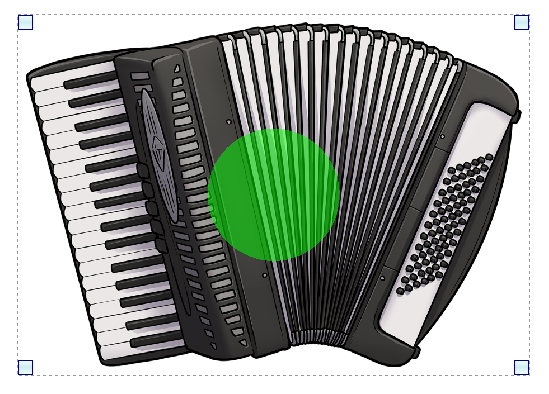
Drop the image to assign it to the item. The item will be resized to the usual size of the image. You may change the size to your needs. More on that in the chapter Editing Items.
Above the image a transparent preview form will be visible. This helps you in distinguishing them from normal picture items. Also it has it's use in interactive worksheets. More on that later. On a print-out the preview form will not be visible.
Assigning Incorrect Solutions
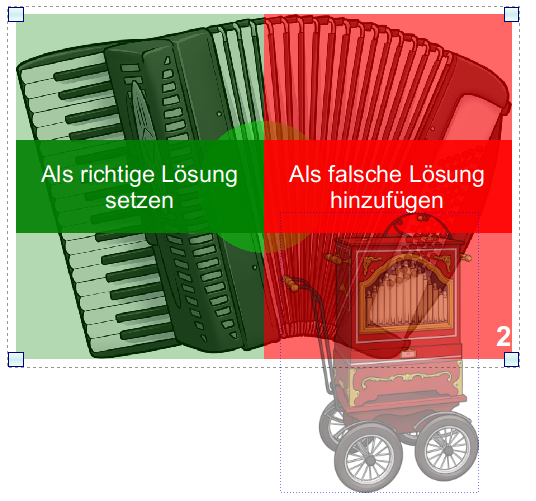
When the item has a solution image, you may assign incorrect solutions. This is again done by dragging an image onto the item. Now you will see a green and a red area.
Dropping the image on the green area will exchange the solution image with the new one. To add the image as incorrect solution drop it on the red area.
The area you are hovering above is highlighted.
|
Hint: If the solution image is very small it can be hard to drop an image on it. In this case increasing the zoom or holding the ALT key while dragging (to avoid snapping on the grid) will help immensely. |
You may assign as many incorrect solutions as needed. In the drag overlay the number of already assigned incorrect solutions is visible in the lower right.
You may edit the incorrect solutions in the item properties. More on that in the next section.
As for Solution Items incorrect solutions are shown in the solution bar of interactive worksheets. Even when you set individual incorrect solutions for each item, the solutions of a page will be thrown into one big pot and a selection displayed to your students.
On paper worksheets incorrect solutions have no effect.
Image Solution Item Properties
For the image solution item the following options are available in the property editor:
Frame
Show frame: |
When enabled a frame will be drawn around the image. The frame will be visible when printing the exercise sheet as well as the answer keys. |
Frame color: |
Defines the color of the frame (if the frame is shown). |
The frame behaves as in the picture item: when it is shown the image will get a little smaller to make room for the frame.
Preview Form
Radius: |
Change the radius to make the preview form bigger or smaller. The preview form will never be larger than the solution image. |
Color: |
Set the color of the preview form to your liking. |
Incorrect Solutions
All incorrect solutions you assigned to the image solution item will be listed in the item properties.
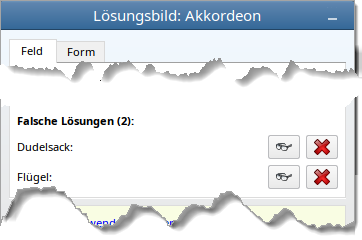
If you want a preview of how the incorrect solution will look in the worksheet, click the glasses icon and hold the mouse button. Releasing the button will end the preview.
Use the red X to remove the incorrect solution from the item.
The Image Solution Item in Paper Worksheets
In PDF worksheets and print-outs the solution image will only be visible in the answer keys.
If you enabled the item frame, it will be visible in the worksheet as well as the answer keys.
The preview form is not visible in paper worksheets.
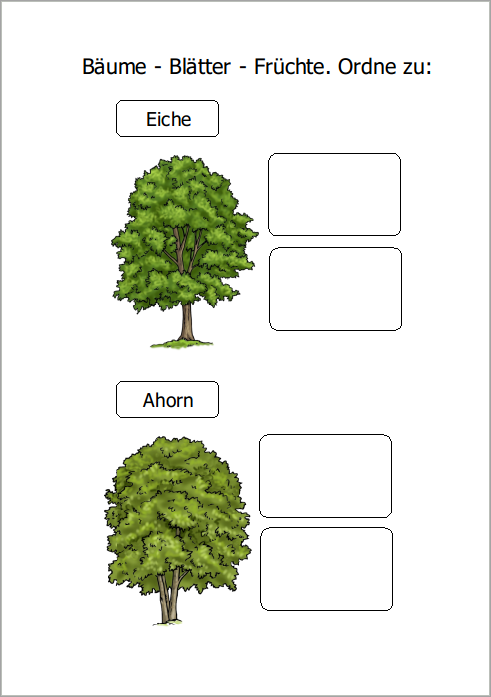 Printer preview for worksheet |
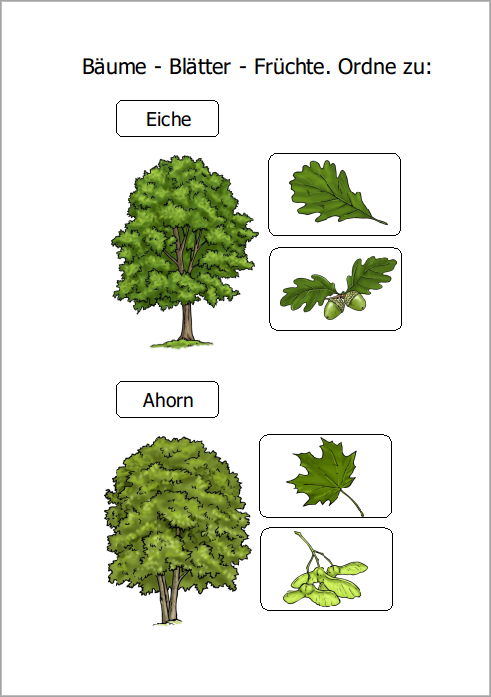 Printer preview for answer keys |
On copying the item to other applications (e.g. Word) the behavior is the same as in print-outs. Learn more in the chapter Copying Items to Word.
The Image Solution Item in Interactive Worksheets
The image solution item is at it's full potential in interactive worksheets. It allows you to create interactive worksheets for a great variety of different subjects, like general studies, maths, word-image vocabulary training or associations of images to sounds. You will most probably have many ideas to explore.
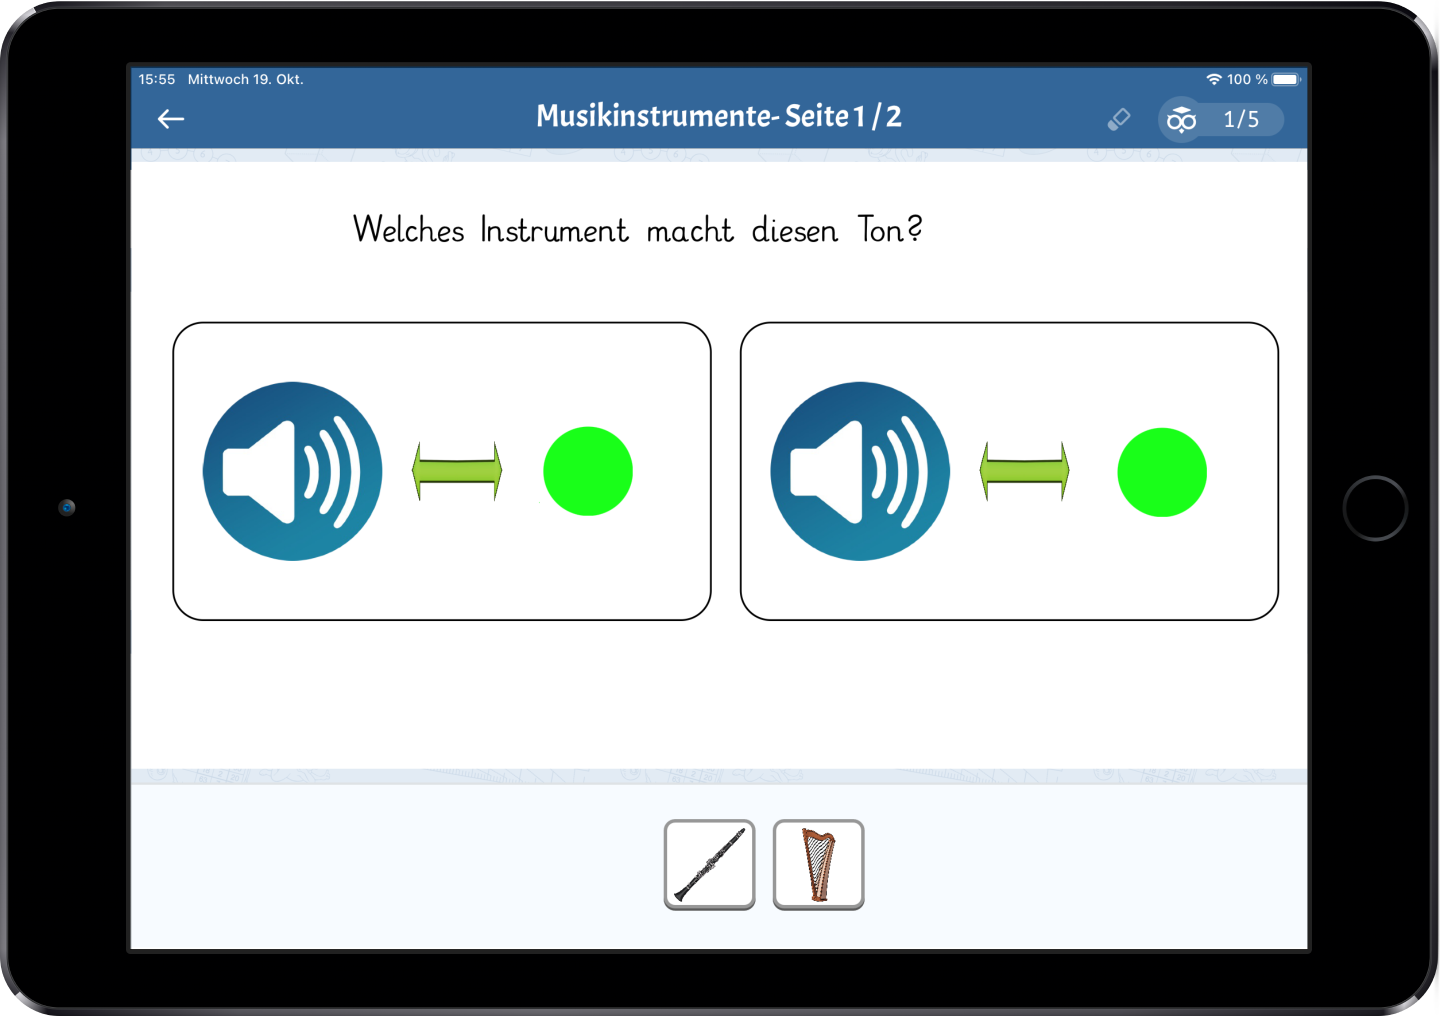
The correct and incorrect solutions of the image solution item will be available in the solution bar and may be dragged onto all target areas in the worksheet.
Important Notes
The image solution item leaves a lot of room for creativity. Due to this it is easy to create worksheets that on solving behave differently from what you expect. To ensure the worksheet behaves as expected test it on the tablet before handing it out to your students.
Image Properties
For the image solution item most properties of the picture item are not available.
The item will always keep the aspect ratio of the assigned solution image.
Incorrect solutions with an aspect ratio different from the solution image will be reduced in size to fit inside the item bounds and i.e. not fill the whole height of the item.
Overlapping Target Areas
When target areas overlap in a worksheet it may sometimes prove difficult to assign the solutions. Decide for yourself where overlap is required and avoid it where possible. Test on the tablet if everything works well.
Multiple Usage of Identical Images
An image may never be a correct and incorrect solution at the same time.
If you assign an image to a image solution item as correct solution and to another one as incorrect, the image will appear twice in the solution bar. For the target area where it was assigned as correct, it will always serve as the correct solution, no matter which of the "both" images from the solution bar is used by your students.
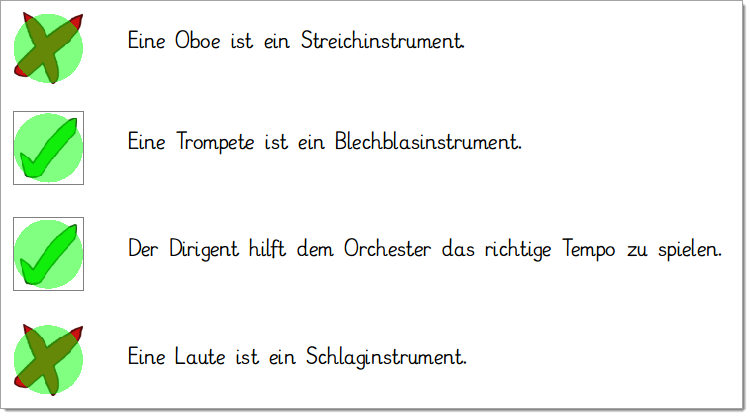
An image may be used as correct solution for multiple target areas. In example you might create a multiple choice test by using images of red crosses and green tick marks. Both images will be available multiple times in the solution bar and count as correct solution for all their respective target areas. Be careful: If you use i.e. different images for green tick marks your students will never know which individual tick mark belongs to which correct answer.
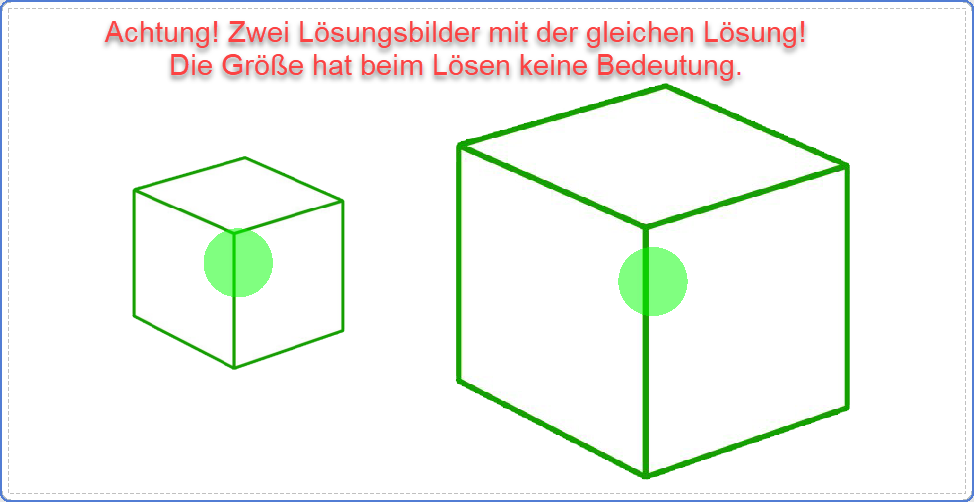
The size of the image on the worksheet has no relevance for the correctness of the image. Example: A worksheet holds two image solution items of different sizes which both have the same image of a cube as correct solution. Both cube images in the solution bar will prove as the correct solution for both target areas.
When you create worksheet pages containing image solution items of largely different sizes, solving the worksheet may become much easier for your students, because assigning the images to the wrong target area may create goofy effects:
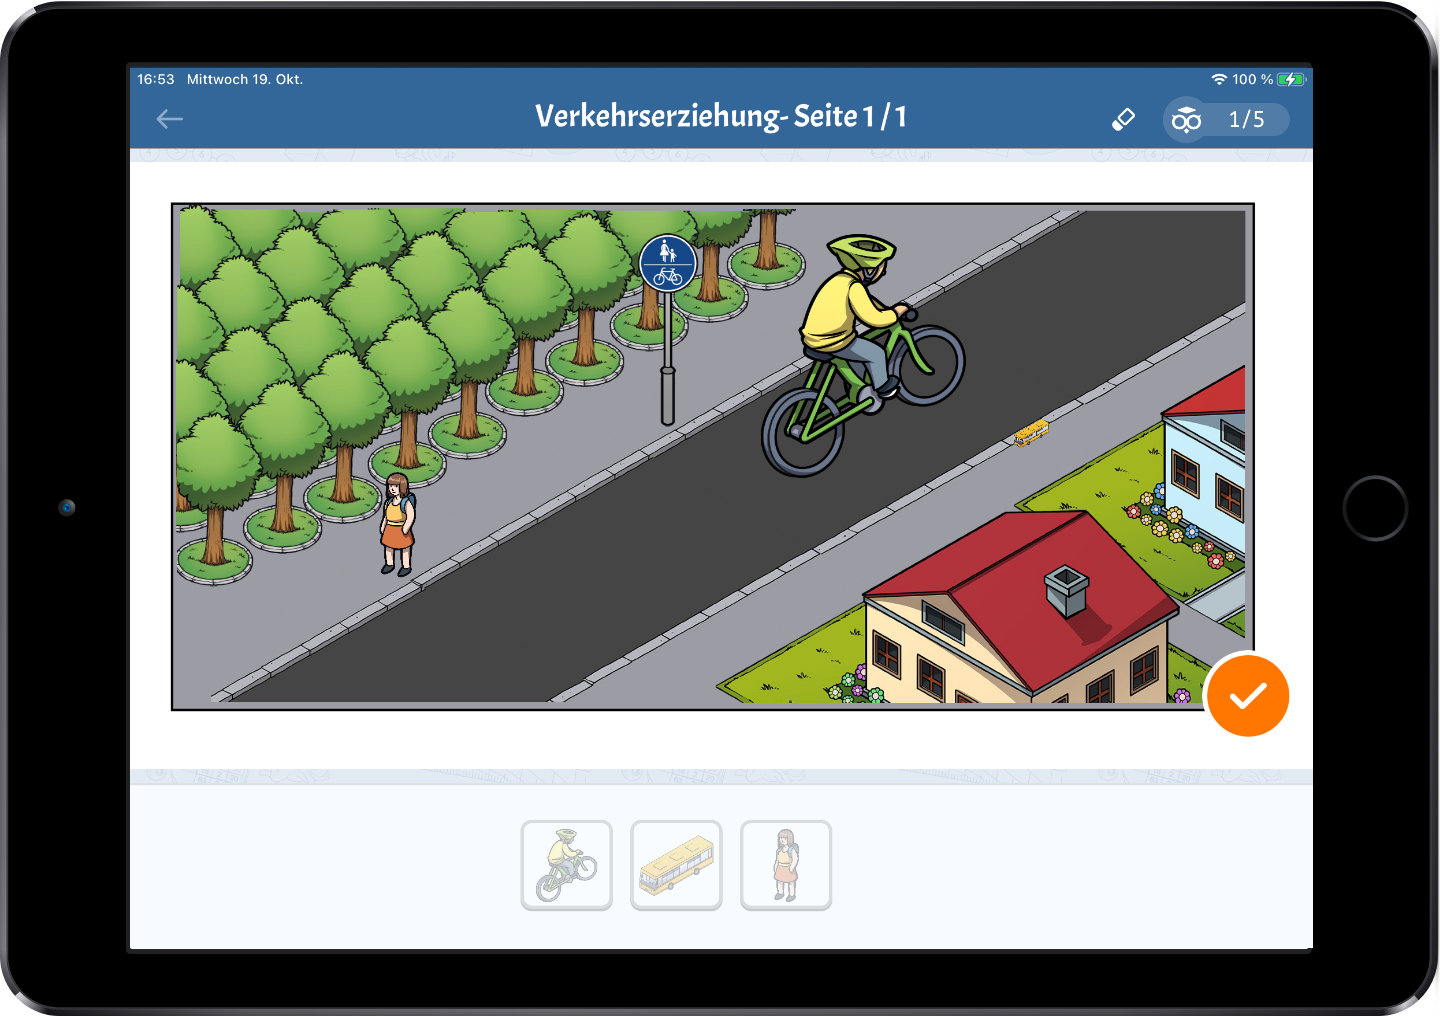
If you want all image solution items to have the same size, an easy way is to select them all and change the sizes in one go via the Shape Properties in the property editor.
Interaction With Solution Item And Exercise Solutions
The target areas of image solution items, solution items and exercise solutions are compatible. This means that your students may e.g. place a number or a text solution on the target area of a image solution item or a solution image in a number pyramid. On validation WorksheetGo! will of course rate those solutions as incorrect.
