Worksheet Crafter User Manual
In order to edit an item you first need to select it on the worksheet. Just left-click on the desired item. The selected item is displayed with four black auxiliary dots in the corners.
You also have the possibility to select multiple items at once so that you can move or edit them in one single step. To do so, use the mouse to draw a selection rectangle around multiple items on your worksheet page. Alternatively you can click on items while holding the CTRL button down to add them to your selection. Please note that the selection can only hold items from one worksheet page. |
|

|
With the mouse: To move an item on a worksheet left-click the item and move the mouse while holding the mouse button. While the item is moved it is displayed as a dotted rectangle. The move procedure is finished when you release the mouse button. When you have a selection of multiple items, you can move them all together.
By default the item is moved along the helper grid i.e. in steps of 5 mm. If you want to move the item in steps of 1 mm press and hold ALT when moving the item.
Tip: The items can also be duplicated this way. Just hold the CTRL key while moving the selection. When you release the mouse button a copy of the selected items is created at the target position.
With the keyboard: Use the arrow buttons to move an item without the mouse. Press the corresponding arrow button to move the item along the helper grid towards the desired direction. If you want to move the item in steps of 1 mm press CTRL+Arrow.
|

The currently selected item is displayed with four black auxiliary dots in the corners. Use the auxiliary dots to enlarge or reduce the item. Left-click on one of the auxiliary dots and move it to the desired direction while keeping the left mouse button pressed:
By default the item is enlarged or reduced along the helper grid i.e. in steps of 5 mm. If you want to resize the item in steps of 1 mm press and hold ALT when resizing.
|
|

Grouping Items
You can bundle multiple into one group. Read more here: Grouping Items
Rotating Items
For text items and pictures you additionally have the possibility to freely rotate them on your worksheet. This can be done via the green rotation dot which is shown above such items. To rotate an item, left-click on that green dot and move the mouse to the left or right. While rotating, the current rotation angle will be shown in the status bar at the bottom of the application. |
|

Aligning and Distributing Items
You can use the alignment and distribution tools in the upper toolbar to align or distribute multiple selected items in a predefined way:
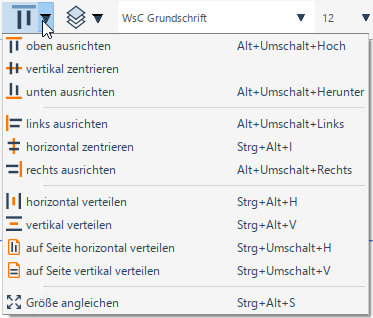
Here is an example for aligning two items at the top:

Here is an example for distributing three items horizontally:

Making Items the Same Size
The drop down menu item "Make same size" sets the sizes of the selected items to the size of the largest selected item. This way you can easily set the same size for multiple items. However, if an item has size restrictions (e.g. due to aspect ratio enforcements) then the "make same size" command will not necessarily achieve the expected results.
Editing the Content of an Item
|
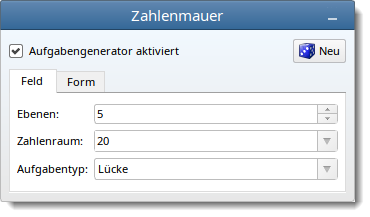
Most of the items in Worksheet Crafter contain one or more input fields for entering text.
The Exercise Generator fills the input fields automatically. For more information about using the Exercise Generator see the corresponding chapter.
However, if you're working in the manual mode or if the selected item doesn't provide a Generator, you can fill the input fields with custom text. For more information about input fields see the chapter "Working with Input Fields". |
Layers determine the order in which the items are placed in your worksheet. This is relevant when items overlap. Then items on higher layers will be drawn over lower ones and obscure them.
Manipulating the layer order allows you e.g. to make sure that a background image is actually drawn below everything else.
The Quick Menu offers the following options for changing layers:
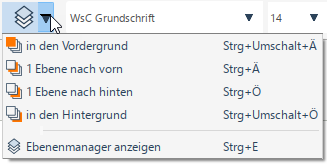
•To foreground: moves the selected items to the foreground
•1 layer up: moves the selected items one layer up
•1 layer down: moves the selected items one layer down
•To background: moves the selected items to the background
•Show layer manager: Opens the layer manager (see below)
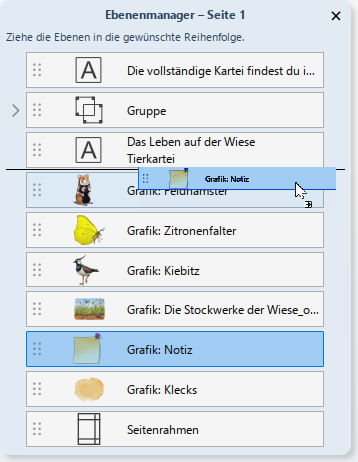
Layer Manager
The layer manager shows an overview of the layers of the current page:
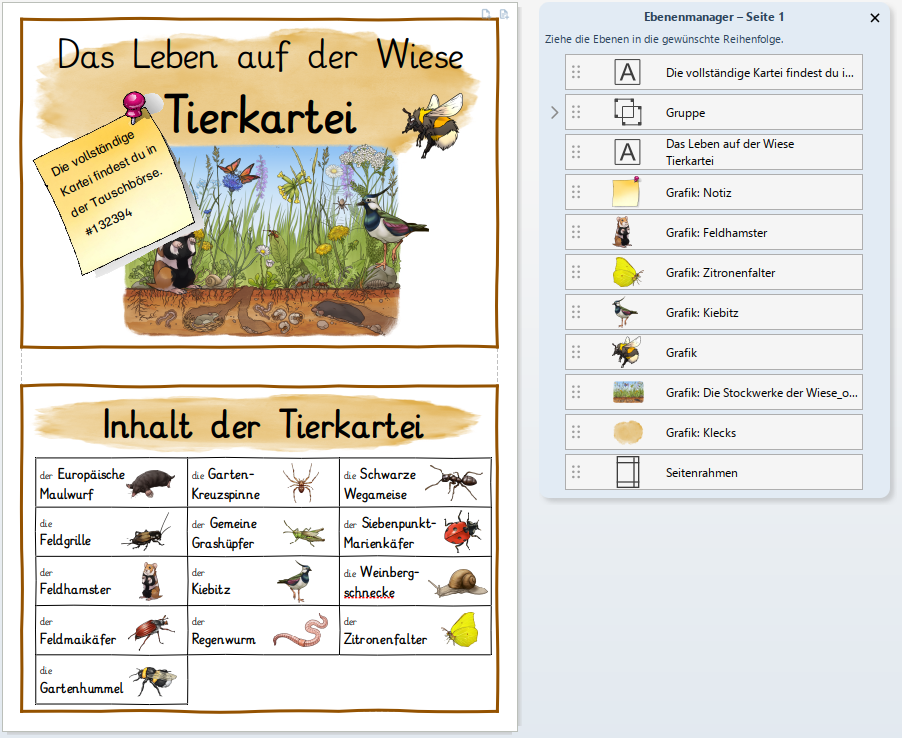
You can move layers by dragging them with the left mouse button:
There is also multi selection. Select multiple layers by clicking while holding down Ctrl (Mac: Cmd) or Shift for range selection. Now they can be moved by drag and drop again.
Group items may be expanded to see which items are grouped:
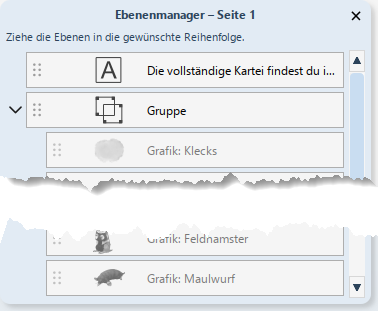
The grouped items are greyed out and may not be moved. To change their individual order ungroup them first.
By the way: the layer manager may also be moved on the screen. Just drag it around by the title bar.