Worksheet Crafter User Manual
|
The picture field enables you to insert pictures on the worksheet which can be resized as needed. The pictures are selected in a file selection window. Therefore you can search all pictures on your computer. |

Creating a New Picture
|
Use the toolbar icon pictured on the left to place a new picture on the worksheet. For more information about this topic see the chapter "Creating Items". |

Selecting the Picture
When creating a picture item via toolbar the picture may be selected via file dialog.
Worksheet Crafter supports the picture file formats BMP, JPG, JPEG, WMF, GIF, PNG, TIF and TIFF.
A more convenient way is to drag and drop one of the many illustrations from the content search on your worksheet.
You may also add own images to the content search.
Worksheet Crafter displays the selected picture on the worksheet. You can now resize the picture as needed. For more information about resizing items see the chapter "Editing Items".
|
Cropping images is available in the Premium Edition and Unlimited Edition 2017.3 or newer. Learn more. |

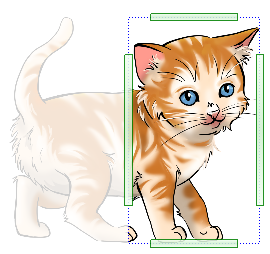
Use the "Crop Image" command in the property editor to crop your image to a partial area:
Changing the Color
|
Color Change is available in the Premium Edition and Unlimited Edition 2019.2 or newer. Learn more. |
You can adjust the color of images and illustrations. Set the check mark at the option Change color in the property editor and click the button to select the color:

Choose the desired color in the color picker dialog:
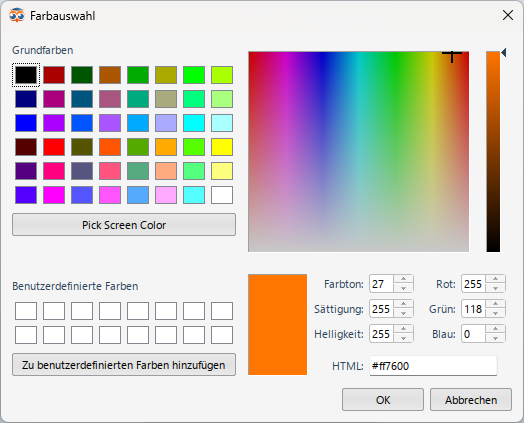
Click directly inside the color area to change color and saturation. Use the slider to the right for the brightness. If you require exact values, enter them in the numeric input fields (values between 0 and 255).
On Mac the color picker dialog looks different but the principle is the same. Use the tabs on top to switch between different modes of color selection.
Picture Properties
You can select the following settings for the picture field in the Property Editor:
Drawing style: |
For illustrations from our asset packages it is possible to switch between colored, black and white and contour. |
Keep aspect ratio: |
Defines whether the original aspect ratio will be maintained when resizing the picture. This setting is active by default and ensures that the picture isn't accidentally warped. |
Remove white areas: |
Shows the image with a transparent background. All white pixels are treated as transparent in this case. Use this property so that you can place pictures side by side more easily, without having overlapping white border-sections. (Only visible for images that do not already have transparent areas.) |
Show frame: |
Shows a frame around the picture. |
Frame color: |
Specifies the color of the frame (if shown). |
Image Editing |
|
Change color: |
Allows to individually adjust the color of the whole image via color picker. |
Color: |
Determines in which color the image was recolorized (if visible). |
Transparency: |
Use the slider to set the transparency for the whole imagel (0: opaque; 100 invisible). |
Rotate image: |
Rotates the image by 90 degrees clockwise or counter-clockwise. |
Mirror image: |
Mirrors the image horizontally or vertically. |
Crop Image: |
Switches to cropping mode, allowing you to crop the image at all four sides. |