Worksheet Crafter User Manual
|
Important: Taking Bleed into Account |
Mehr über den Worksheet Crafter erfahren Scroll Prev Top Next More |
This is the most important chapter in this manual when it comes to printing workbooks. Worksheet Crafter takes care of many technical burdens when printing workbooks. This also applies to bleed - but for this topic your careful attention is still required.
What is Bleed?
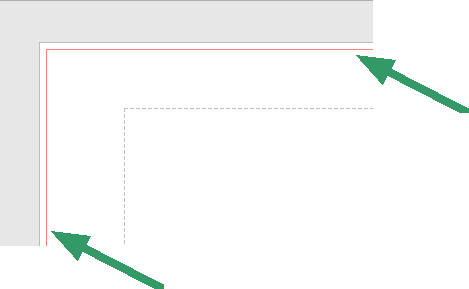
If you look at your document after switching to workbook format you see that the active page shows a red line close to the page borders:

The red border defines the bleed.
What is the Bleed used for?
The idea is simple: Professional printeries print workbooks on large pieces of paper and cut them out from these. Since cutting paper can't be micrometer accurate this step can result in minor inaccuracies. Due to this each page in your workbook gets an additional margin of 2 millimeter on each side, which is the area outside the red lines in the above screenshot. This area is called "bleed". For a better understanding we have colorized the complete bleed region in red color in this image here:

This region is cut away by the printery.
And, this is important, not necessarily exactly on the red lines but possibly with an offset of 1-2 millimeter.
What do I have to consider?
1) Text must have 4 millimeter distance to the page border
Any text in your document must have at least 4 millimeter distance to the page border, which means that it needs to have at least 2 millimeter distance to the bleed. This gap is need so that the text does not get truncated. This rule also applies to other content such as illustrations and exercises.
Here it is done correctly:

And this is how not to do it.

2) Background must fill the complete page
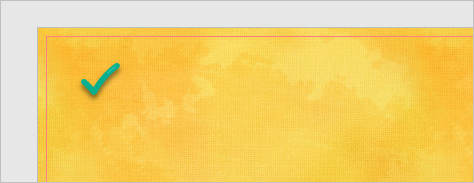
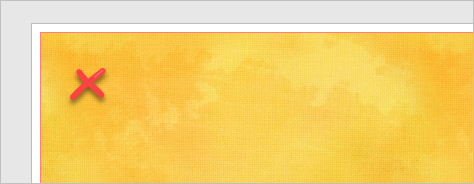
If your workbook has a page filling background, such as a background patter or a single background color, then this background has to cover the bleed and thus fill the complete worksheet. If you don't follow this rule then your workbook can have a white stripes on page borders - if cutting the paper during production is slightly offset and thus a part of the white paper gets visible.
Here it is done correctly:

And this is how not to do it.

Thus rule also applies when the background only touches one or two page borders:

Carefully check whether your worksheet correctly takes these bleed rules into account!
Continue with placing the order.